Lecture 0 - Preparation for the first class.#
Objectives#
This is a pre-class lecture to be completed by all INF80054 students before the first class. This pre-Lecture1 note provides step by step instructions to install the required Anaconda Python package in a Windows or Mac computer. Please follow the step-by-step instructions provided in this lecture. If you have any questions, you may please raise it in the classroom.
A successful completion of Lecture 0 means that:
The Anaconda3 Python distribution is installed correctly in your PC or laptop (Windows or Mac).
You can launch Spyder and use its Editor to write and execute your (first) Python script.
Also, please note that Anaconda is a package which includes Spyder and many other modules. So if you install Anaconda successfully, then Spyder will be installed automatically.
Installing Anaconda3 Python Distribution#
Installing Anaconda3 on Windows#
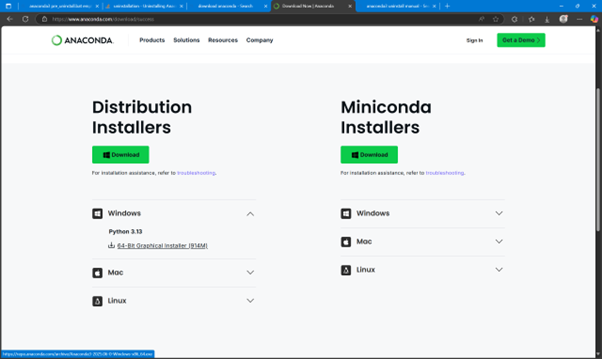
Go to https://www.anaconda.com/download/ and download the installer appropriate for your operating system. Below is detailed step by step instruction for installing in the Windows operating system. You may skip the registration if you prefer to by clicking “Skip registration” under the [Submit >] button.

Click the [Download] button.
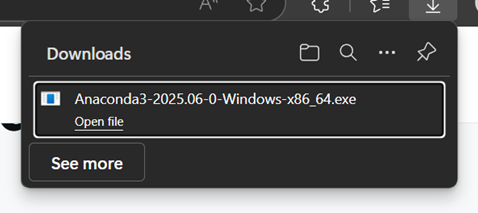
Once the download is completed, run the Installation file.
Click Open file from your Browser’s download status window) the installation file (or go to your Downloads folder where the installation file you have just downloaded is located and then run (double-click) the file:
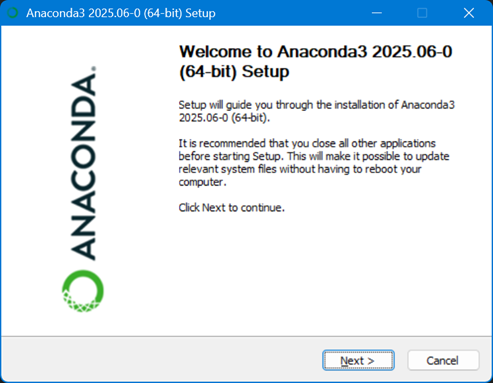
Click Next> button on the Anaconda Installation Splash Screen:
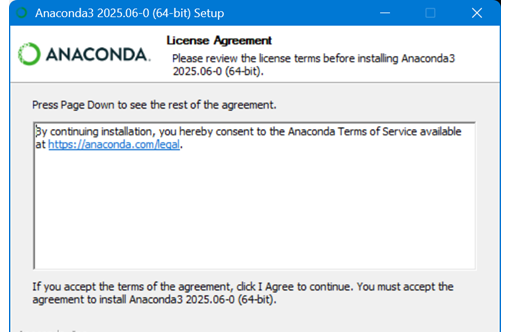
For Windows users, ccroll down the License Agreement, and after reading the agreement, click [I Agree]
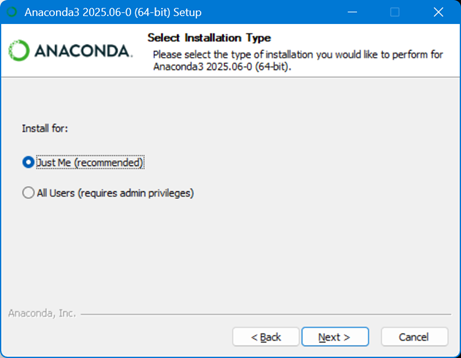
Then, choose “Install for: Just Me (recommended)” and click Next:
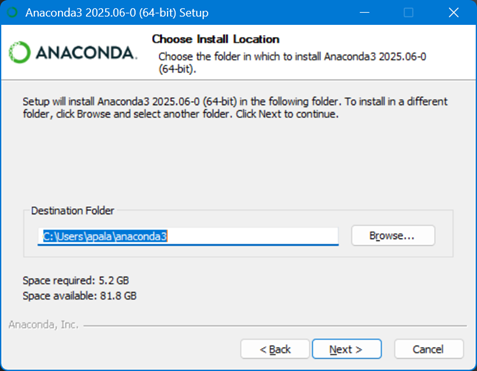
Then specify the Destination Folder (such as the default Windows’ user folder). You need to make sure that the Destination Folder is empty and that the full path to the Destination Folder does not contain spaces and Unicode characters. Then, click Next:
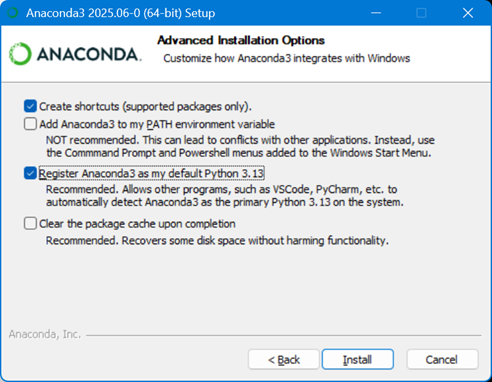
Then accept the default checked options: “Create start menu shortcuts …” and “Register Anaconda 3 …”, and click Install:
Then, the Installation script will be run. This may take a few minutes to complete.
Once Installation is completed, click Next.
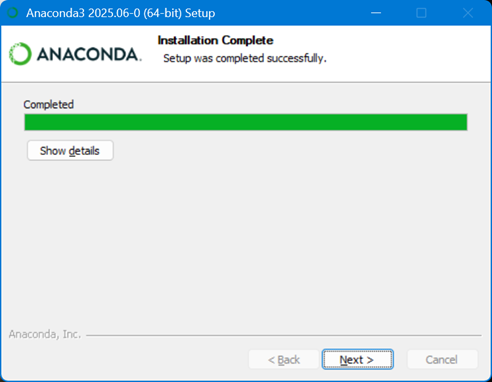
Then, Click Next again.
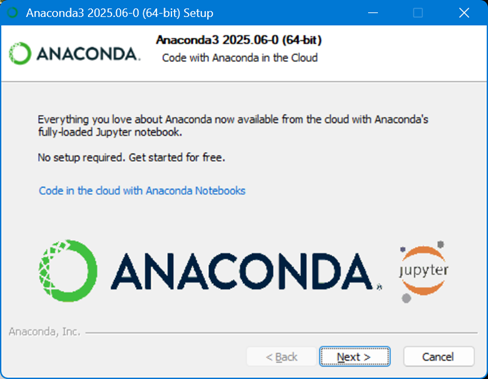
Then, uncheck the two options (“Launch Anaconda Navigator” and “Getting Started with Anaconda Distribution”) and then click Finish.
Installing Anaconda3 on Mac#
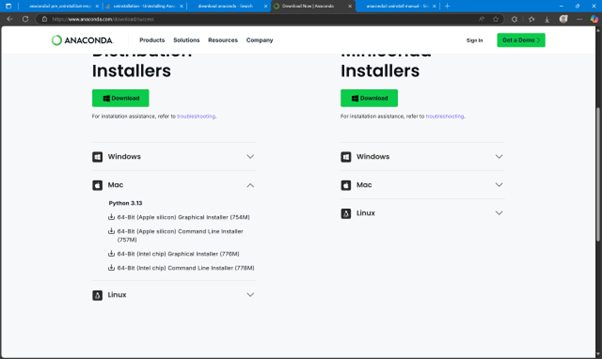
Go to https://www.anaconda.com/download/ and download the installer appropriate for your operating system. For Mac, click the appropriate download link:
Once the download is completed, run the Installation file.
In Windows, click Open file from your Browser’s download status window) the installation file (or go to your Downloads folder where the installation file you have just downloaded is located and then run (double-click) the file:
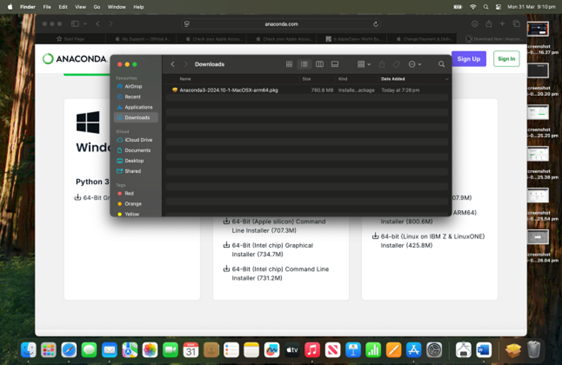
For Mac users, When the download is completed, go to the Downloads location (in your Finder) then double click the installation file to run it (Note: My Mac screenshots were taken from installing a previous version of Anaconda; but it should be similar enough)
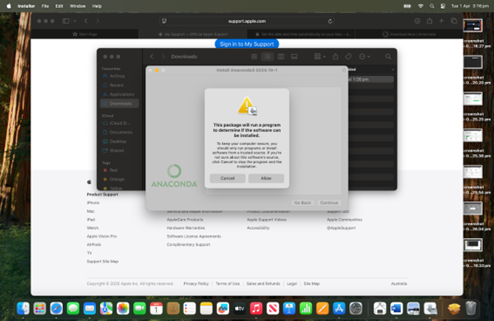
Note for Mac installation, You may need to allow and provide your Mac password to confirm:
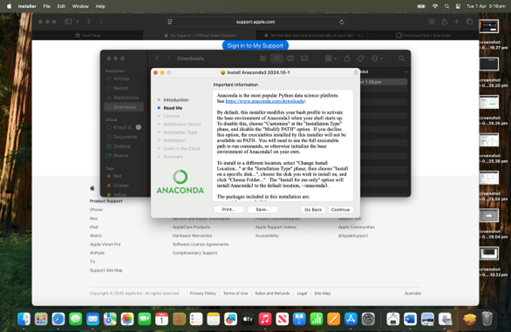
For Mac users, after reading the Read Me, you can proceed by clicking Continue:
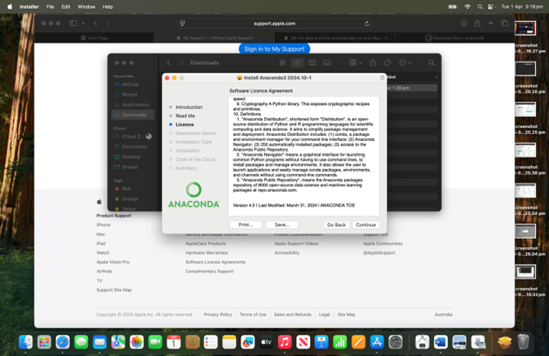
For Mac users, read the Licence Agreement if needed, and click Continue:
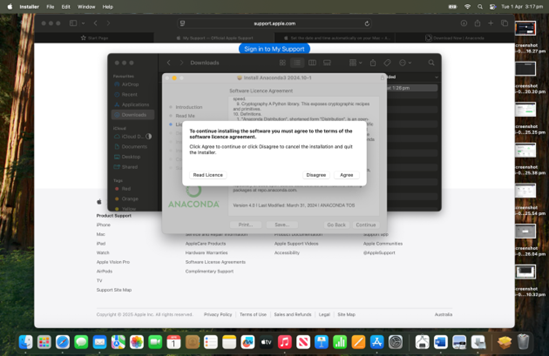
Then click Agree to the Licensing Term:
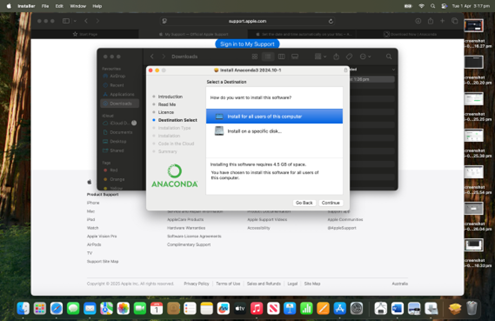
Then, for Mac users, then you may choose to install for all users, then click Continue:
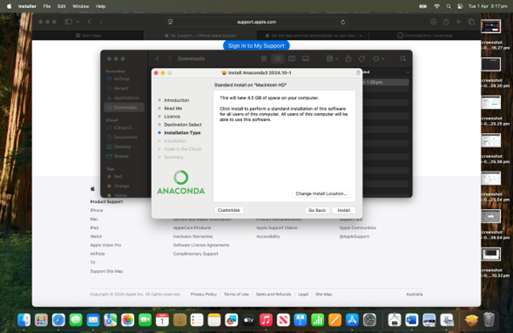
Whatever your choice is, make sure there is adequate space in your Mac, then click Install:
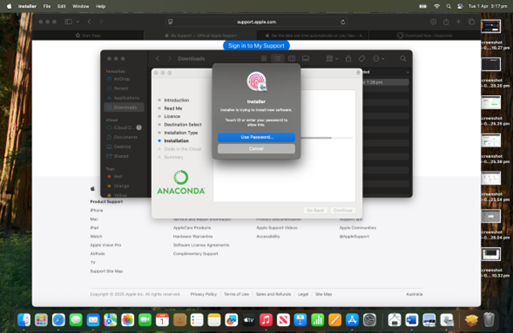
You may be asked to provide your Mac password (or use Touch ID):
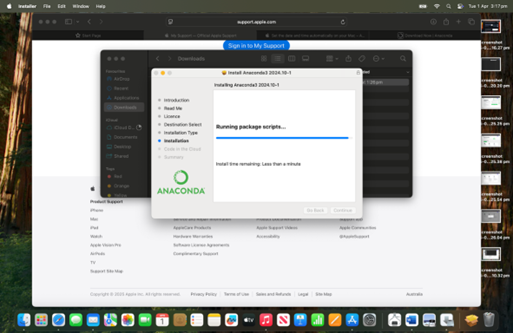
Then, the Installation script will be run. This may take a few minutes to complete.
Click continue.

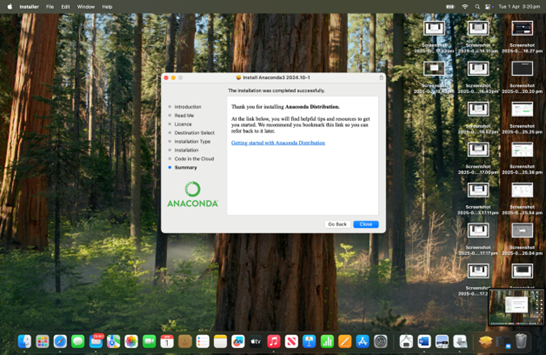
until you received confirmation that the installation has been completed.
Ensuring an up-to-date Anaconda installation#
Using Anaconda Windows PowerShell command prompt#
We now want to ensure that the Anaconda installation we have just installed is up-to-date by running some initialisation and update commands from Windows’s Anaconda PowerShell prompt.
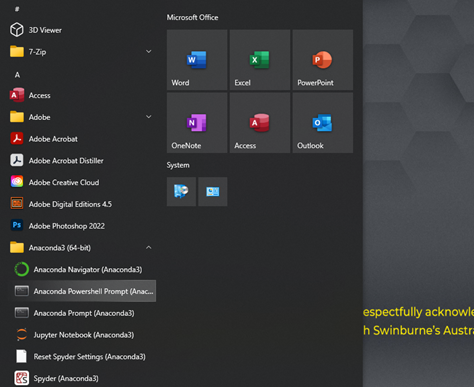
Click Windows [Start] button on your task bar and (if necessary, go to Anaconda3 menu folder) then run (that is, “click”) “Anaconda Powershell Prompt”.
Note: Your Windows system may look slightly different from the one shown in the screenshot.
In the Powershell Prompt, enter each of the following instruction one-by-one in sequence: (enter “y” if prompted to Proceed)
cd anaconda3\scripts
conda init powershell
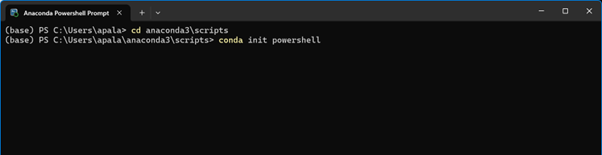

Note: Your Windows powershell may appear slightly different from the screenshot.
Then close the Anaconda Powershell Prompt window.
Now, re-open the Anaconda Powershell Prompt window and enter each of the following commands one-by-one in sequence:
cd anaconda3\scripts
conda update conda
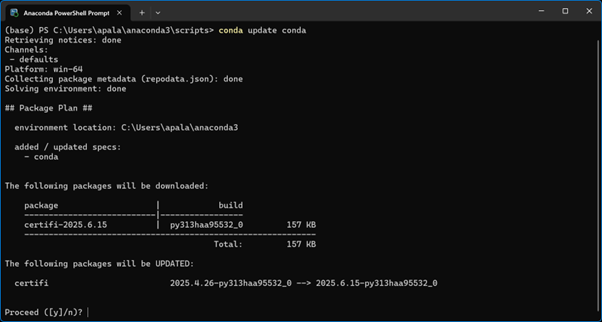
Note: Your powershell may look slightly different from the screenshot.
Then click ‘y’ when asked to proceed. (Note: the output you see on your computer may not match mine exactly. This is OK). You can now close the powershell when the conda update is done.
Using Mac Terminal command prompt#
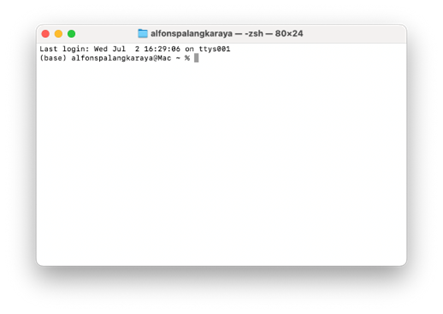
For Mac users, you can open a Terminal either by navigating from Finder -> Applications -> Utilities then Double Click Terminal or using the Spotlight Search enter “terminal” and open (Press Command + Space Bar to activate Spotlight Search).
Note: YourMac system may look slightly different from the one shown in the screenshots.
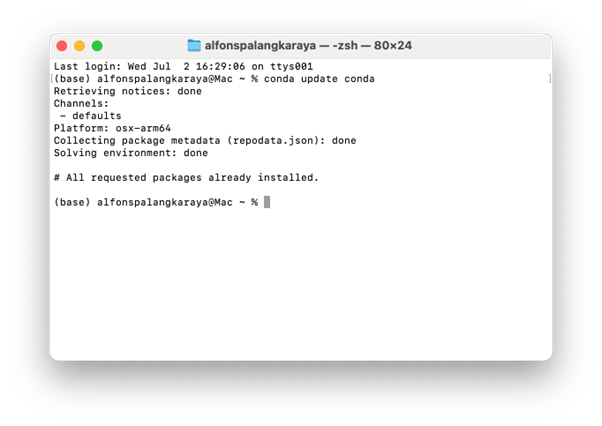
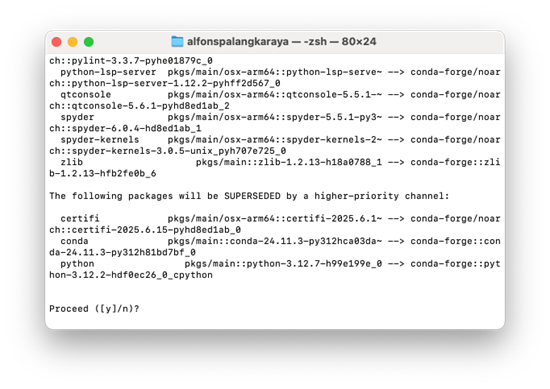
Then, enter this command: to make sure your installation is up to date (it is most likely is)
conda update conda
Installing Spyder-Notebook#
In this course, we will use Spyder, an IDE (Integrated Development Environment) which comes with Anaconda distribution. Spyder comes together with the Anaconda package and we do not need a separate installation for it.
However, the “Sypder-Notebook” is not part of the Anaconda package and must be installed separately. The Spyder-Notebook is a plug-in which enable Spyder to open, edit, and interact with Jupiter Notebooks inside Spyder (). Note: We may not use Spyder-Notebook at all, but we will discuss further in class what Jupiter Notebooks are if necessary).
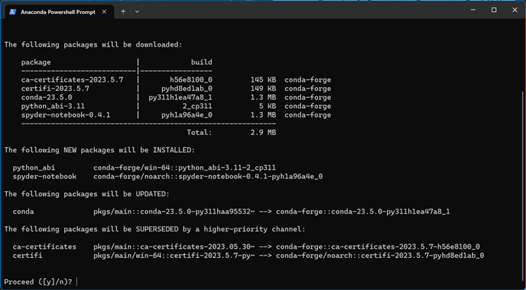
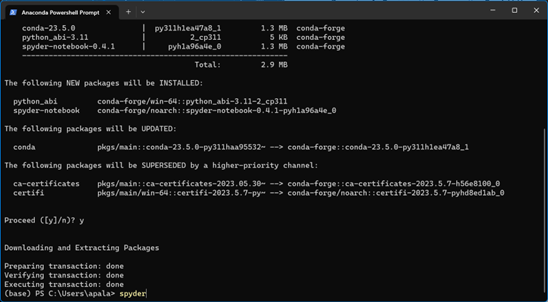
For Windows users, to install Spyder-Notebook (and any other Anaconda package), run a Powershell as before then enter the following command:
conda install spyder-notebook -c conda-forge

Then, tnter “y” to Proceed as prompted:
For Mac users, open a Terminal, and then enter the command:
conda install spyder-notebook -c conda-forge
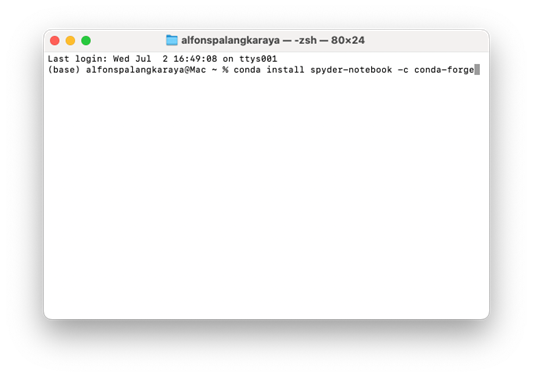
Then, tnter “y” to Proceed as prompted:
Using Spyder#
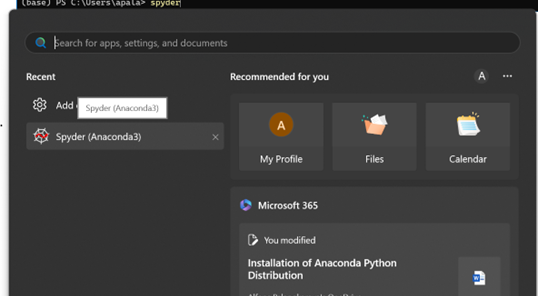
There are several ways to run Spyder. First, in the Windows system, you can enter “spyder” in the Powershell prompt as shown in the screenshot below:
Alternatively, you can use Windows Start Menu system to:
For Mac users, you can use the Spotlight Search (or navigate through Finder-> Applications ):
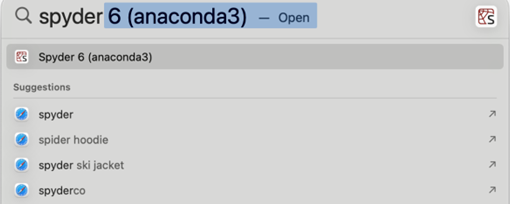
Alternatively, you can enter “spyder” in your Terminal.
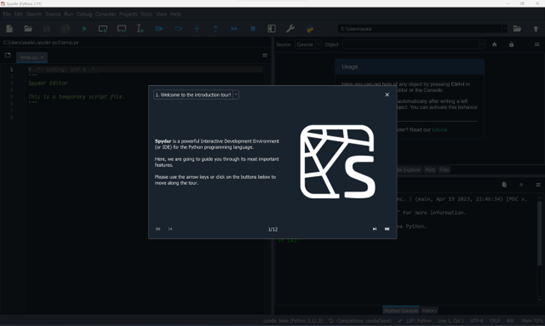
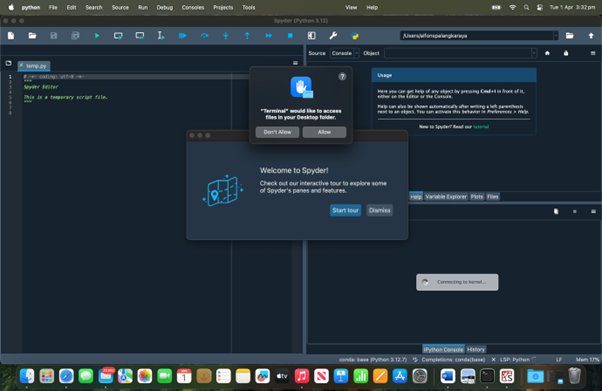
If you are running Spyder for the first time, please feel free to take “Tour”.
For Mac users, you may be prompted to “Allow” Spyder to run:
Note: From this point on, there is no significant difference between the Windows and Mac systems. Thus, only one set of instructions (Windows based) will be provided. If there is any crucial difference between the two systems, then this will be notified accordingly.
Even if you do not know any Python coding yet at this moment, do try to run example code offered by the Tour. (You may ignore it if you see the error message “This version of python seems to be incorrectly compiled (internal generated filenames are not absolute). This may make the debugger miss breakpoints.”).
![IPython]ipython.png)
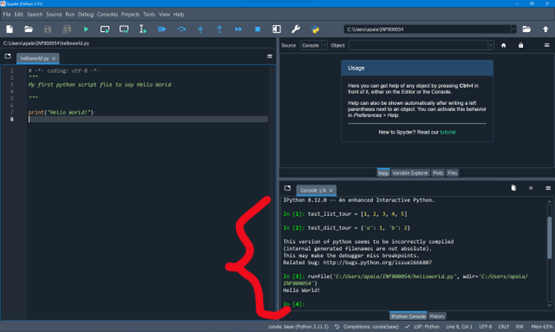
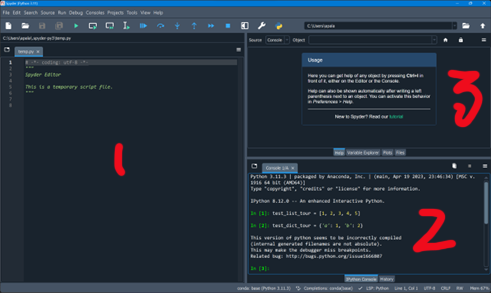
The default view of Spyder has three panes as shown in the screenshot below:
The Editor (1)
The IPython (Interactive Python) Console (2), which is used to run codes in the Editor Pane or entered interactively at the Interactive Python prompt in the Console, and
The Tabbed interfaces (3), from which you can access various information including Help, Variable Explorer, Plots, and Files.
Hello World#
Now, let’s save the open temp.py file in Spyder as helloworld.py. I want to save it in a specific new folder in my user directory such as (Modify the location to use your own directory): C:\Users\apala\INF80054\helloworld.py
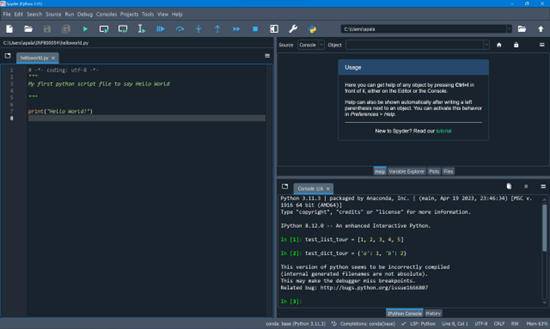
Then, edit the content of helloworld.py file as shown in the screenshot below and then click the Save button on the menu bar at the top of the Editor pane.
Click the Run file button at the top menu bar (or press F5) to execute the script.
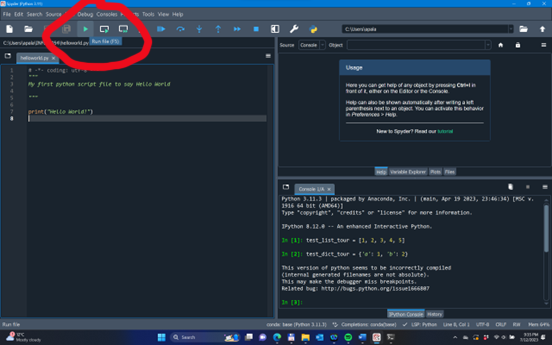
The output will be displayed in the Console pane as shown in the screenshot below: